Toilet Flushes Slow:5 Reasons And Solutions
Sometimes, when your toilet flushes slow, it can feel more like a sluggish stream than a powerful waterfall. This means you’re dealing with a weak
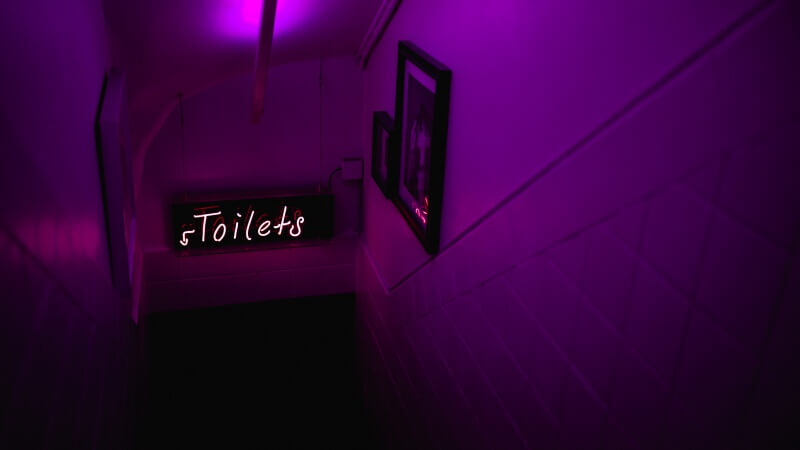
Are you tired of stumbling in the dark when nature calls in the middle of the night? Fear not, dear reader, for we are here to shed some light on your bathroom dilemma – quite literally! The topic of our discussion today revolves around the ever-so-necessary “toilet bowl light.”
In this blog post, we’ll explore the world of DIY toilet bowl lights, ensuring that you never miss the mark when it comes to illuminating your porcelain throne.
Before delving into the specifics of LED strips and installation, let’s take a moment to understand why having a toilet bowl light can be a game-changer. The toilet bowl light is not just a quirky gadget; it serves several essential purposes:
Safety First
Stumbling in the dark while trying to locate and use the toilet can be hazardous. A toilet bowl light minimizes the risk of accidents, ensuring that you safely find your way to the bathroom, especially during those late-night visits.
Energy Efficiency
Traditional bathroom lights can be overly bright, especially during nighttime trips to the toilet. This not only disrupts your sleep patterns but also wastes electricity. Toilet bowl lights provide a gentle glow that is sufficient for your needs while conserving energy.
Convenience and Hygiene
Toilet bowl lights with motion sensors are incredibly convenient. They turn on automatically when you approach the toilet and switch off when you’re done. This hands-free operation reduces the need to touch switches or fumble for the light in the dark, maintaining better hygiene.
Now that we’ve established the importance of toilet bowl lights, let’s dive into the details of selecting the right LED strip for your DIY project.
When it comes to toilet bowl illumination, LED strips are the shining stars of the show. These versatile, energy-efficient lights are perfect for adding a touch of ambiance to your bathroom. Plus, they come in various colors and styles, allowing you to customize your restroom experience.
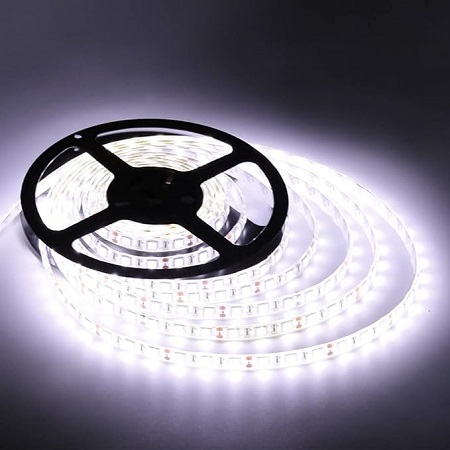
To achieve optimal toilet bowl illumination, you must strategically position your LED strip. A common mistake is placing it too close to the toilet, causing uneven lighting. Instead, install the strip on the inner rim of the toilet seat cover for an even glow.
Why the Inner Rim?
To enhance the functionality of your toilet bowl light, consider opting for a motion sensor. This clever addition ensures that the light activates when you approach the toilet and turns off automatically when you’re done. It’s a fantastic energy-saving feature that also adds a touch of convenience to your bathroom experience.
Motion Sensor Benefits
Toilet bowl lights come in various brightness levels. Opt for a strip with adjustable brightness settings to cater to your preferences. Avoid excessively bright lights that could blind you during those late-night bathroom visits.
Finding the Right Brightness Level
Choose a brightness level that provides adequate illumination without causing discomfort.
Consider a dimmable LED strip to adjust the brightness according to your needs and mood.
Waterproof Wonders
Considering the bathroom’s humidity levels, it’s crucial to choose a waterproof LED strip. This feature ensures longevity and prevents potential electrical hazards. Here are the benefits of waterproof LED strips.
Before embarking on your toilet bowl lighting project, gather the necessary supplies:
Checklist for Supplies
Ensure you have all the necessary items on hand before starting the installation.
Organize your workspace to make the process more efficient and less prone to mistakes.
Now, let’s walk through the installation process step by step:
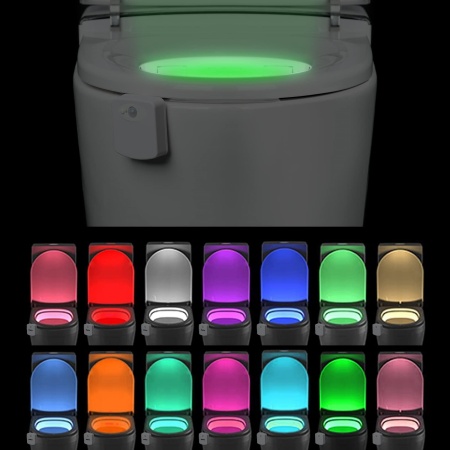
For a touch of sophistication and fun, consider RGB LED strips that can change colors. With a remote control, you can set the mood in your bathroom with ease, transforming it into a soothing oasis or a disco party at your whim.
Setting Up Remote Control
RGB LED strips often come with a remote control for easy color adjustments. Follow these steps to set it up:
Remove the battery insulation tab from the remote control.
Ensure that the LED strip is powered on and within range.
Use the remote control to select your desired colors and lighting effects.
Personalizing Your Bathroom Experience
Experiment with different colors to create a unique ambiance in your bathroom.
Match the lighting to your mood or even coordinate with special occasions.
Impress your guests with a bathroom that offers a memorable visual experience.
To keep your DIY toilet bowl light in top-notch condition, follow these maintenance tips:
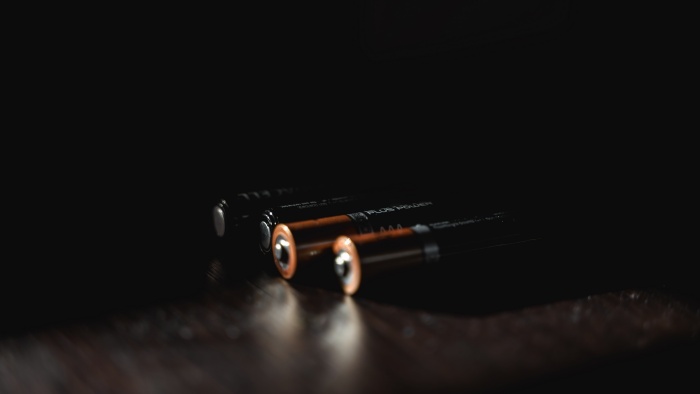
Regular Battery Checks
If your toilet bowl light uses batteries, periodically check and replace them as needed to ensure uninterrupted operation.
Keep spare batteries on hand to avoid inconvenience in case of a power outage.
Cleaning the LED Strip
Clean the LED strip and sensors periodically to prevent dust buildup, which can affect its performance.
Use a soft, damp cloth or a gentle cleaning solution to maintain the clarity of the light.
Replacing the LED Strip
If your LED strip loses its adhesive properties or experiences technical issues, it’s best to replace it with a new one for a secure fit and continued functionality.
When dealing with electrical components, it’s essential to prioritize safety. Here are some safety tips to keep in mind during the installation process:
In conclusion, toilet bowl light installation is a practical and humorous solution to your nighttime bathroom visits. With the right LED strip, proper placement, and a bit of DIY magic, you can create a stylish and functional addition to your bathroom. Say goodbye to fumbling in the dark and embrace the convenience and charm of a well-lit toilet bowl. Remember, a well-illuminated toilet bowl is a happy toilet bowl!
So, don’t wait any longer – start your DIY toilet bowl light project today and bask in the soft, soothing glow of your very own toilet bowl light. Say hello to convenience and goodbye to dark bathroom mishaps with your trusty companion, the toilet bowl light. Illuminate your bathroom with style and functionality, making every late-night visit a delightful experience. Your journey to the perfect toilet bowl light awaits!